Enhance a scanned PDF
Enhancing a scan is four jobs, not one: flatten the lighting, remove the speckle, re-tone the ink and paper, and firm up the edges. Doing them in the wrong order makes things worse — sharpen first and you amplify the noise you were about to remove.
This tool follows that order. It measures your document first, tells you what it found, recommends how much cleaning and enhancing to apply, and lets you change any of it before you download.
Enhance your scan
Upload a scan to see what it needs. Nothing is changed until you apply the settings.
- Upload
- Analyze
- Clean
- Enhance
- Preview
- Download
or drop a PDF here — one file at a time, up to 50 MB and 100 pages
Free to try • No signup required • Your file never leaves your device
What Clean Scan does to a faded page
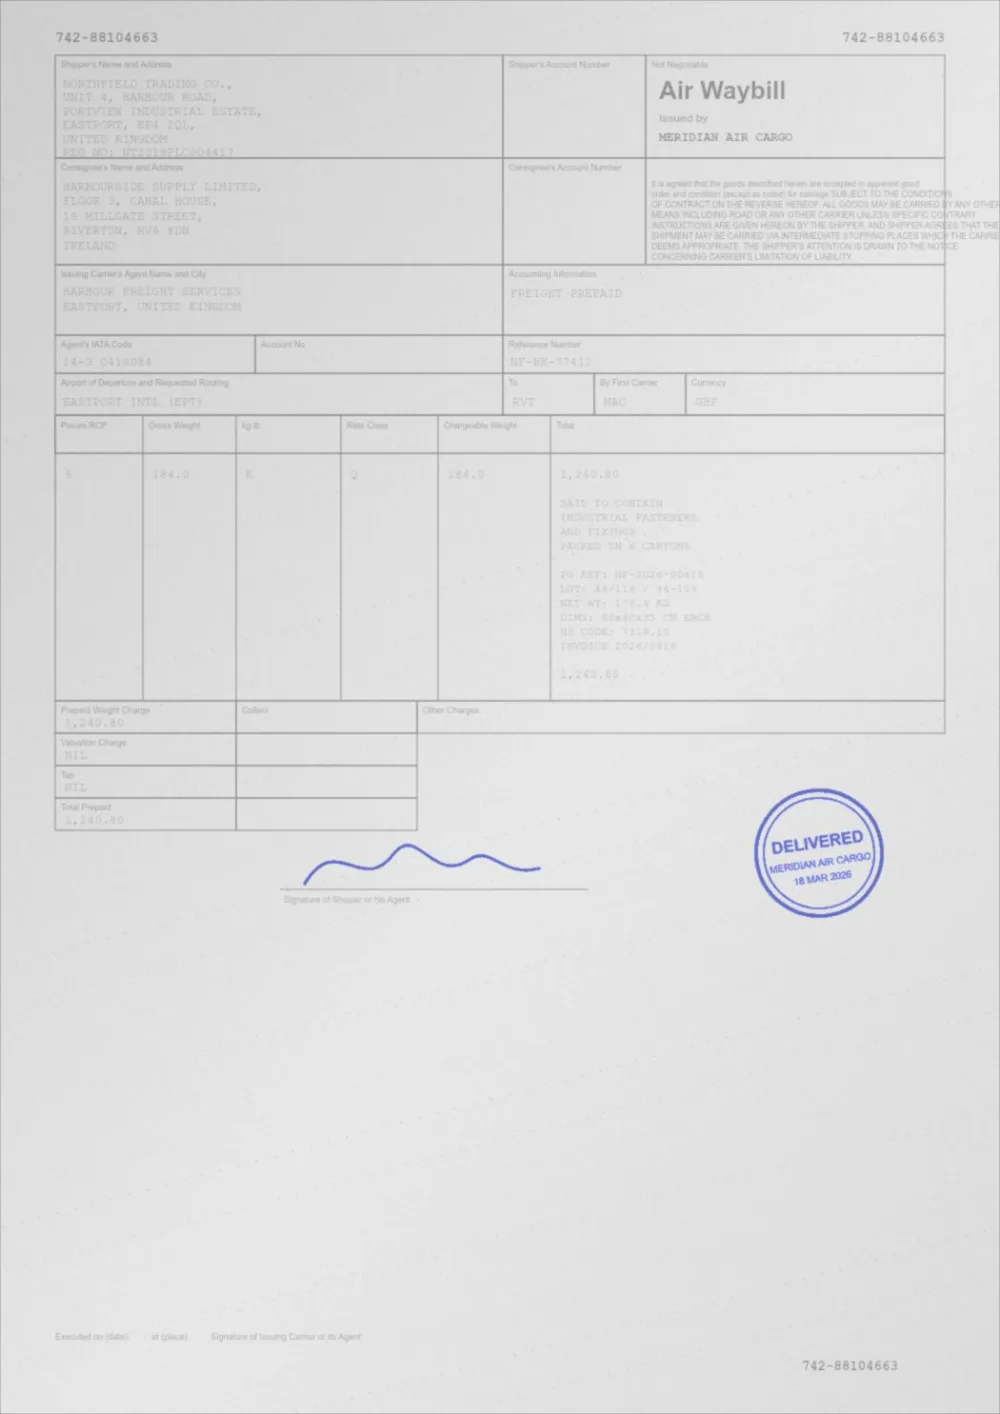
A sample faded document, processed by the same engine in Clean Scan mode. Drag the slider to compare.
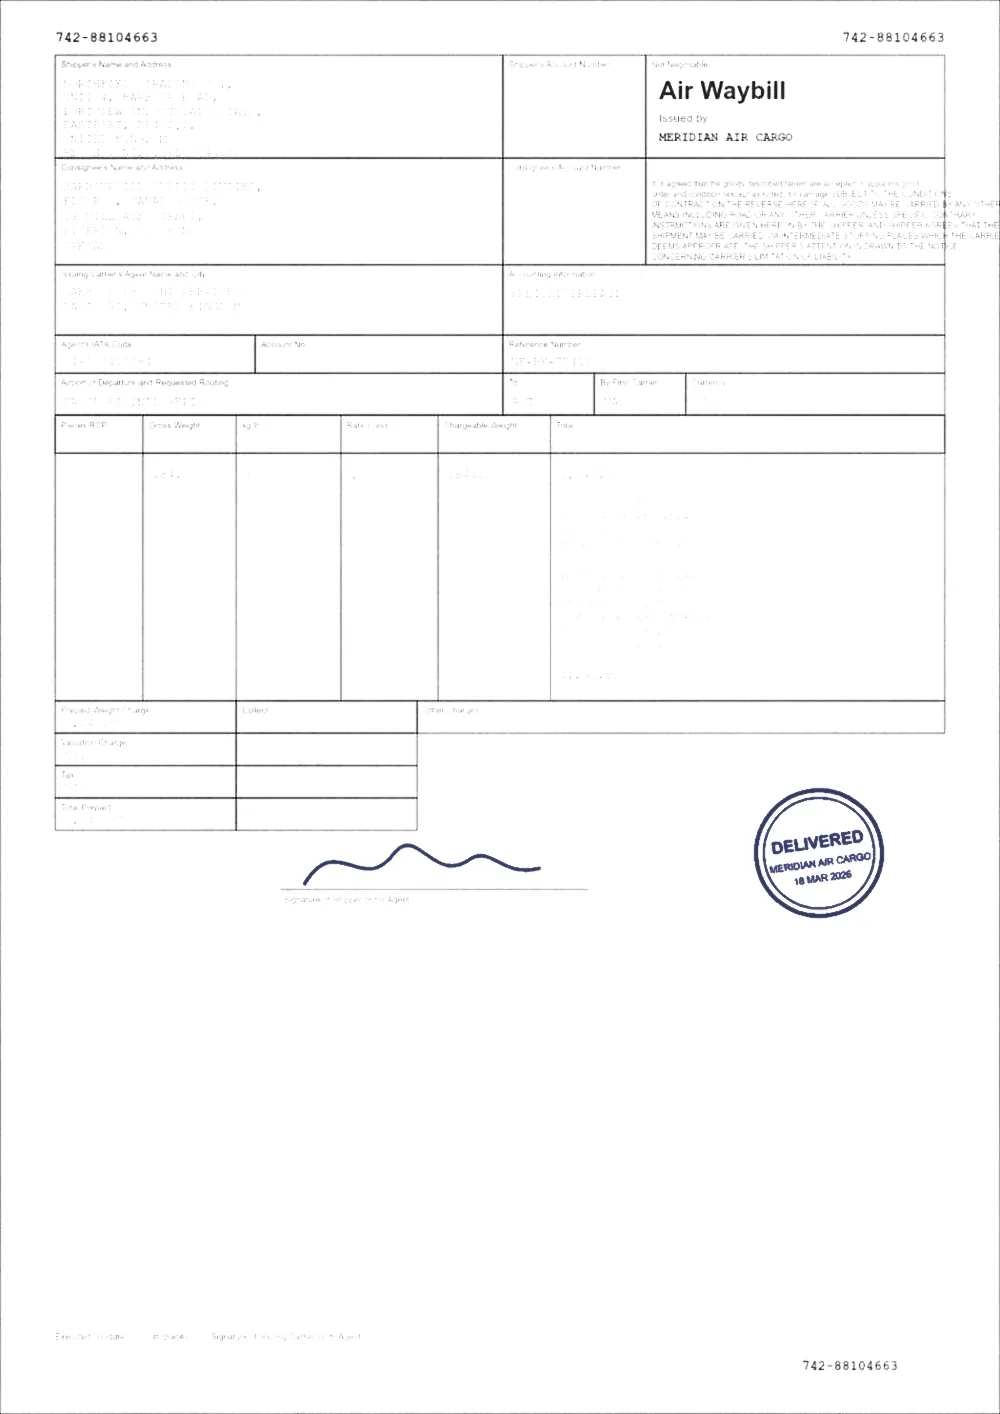 Grey scanClean scan
The six steps of the workflow
- Upload. Your PDF opens in your browser. It is not sent anywhere.
- Analyze. Up to 12 pages, spread evenly through the document, are measured: ink level, paper level, contrast, how even the lighting is, how much colour there is, and which pages are scans.
- Clean. Background cleanup whitens grey paper and flattens shadows; speckle removal clears dust from the paper side of the page.
- Enhance. Text darkness, contrast and sharpening, in that order, each starting from a value worked out from your measurements.
- Preview. Drag the slider to compare the original with the result, page by page. Change a setting and apply it again if it is not right.
- Download. Save the new PDF. Your original file is never modified.
The pipeline, step by step
- Render the page at 200 DPI, so enhancement works on the page itself rather than a small preview.
- Measure the page: paper level, ink level, tonal range, how much colour is present.
- Estimate the paper level locally across a grid and normalise against it, which removes shadows and grey casts.
- Despeckle: a small median filter applied only to the paper side of the histogram, so specks go and strokes stay.
- Apply the tone curve, mapping measured ink towards black and measured paper towards white.
- Unsharp mask, to restore the edge definition that scanning and JPEG compression softened.
- Recolour, keeping the hue of anything genuinely coloured, then re-encode and write the new PDF.
Why the order matters
Noise removal has to happen before the tone curve, because the curve amplifies whatever it is given — including specks. Sharpening has to happen after the curve, because sharpening first would exaggerate noise that the curve then makes darker still.
Restricting the median filter to light areas is the detail that makes despeckling safe. Applied everywhere, a median filter rounds the corners of small text; applied only where the page is close to paper white, it removes dust without ever touching a stroke.
What this does not do
- No OCR on this page. Pages made of real text keep it, but a scanned page is rewritten as an image, so an existing OCR text layer on a scan is not carried over and none is created. To make a scan searchable, use OCR a scanned PDF, which cleans the page first.
- No deskew or crop. Page geometry is left exactly as it was.
- No page reordering, splitting or merging. This tool does one job.
Questions
Does it detect speckle or noise in my scan?
No. The analysis measures ink, paper, contrast, lighting, colour and page type, and it says so on the results screen. Speckle removal starts at a level chosen from how grey and uneven the paper is, and you can raise or lower it yourself.
What if my PDF has no scanned pages?
The tool tells you. A PDF made only of text and vector graphics has no paper cast, shadows or speckle to clean, so Text darkness is the control that helps. The darken PDF page starts there.
Will enhancement damage a scan that is already good?
Auto Print Enhance recognises a page that is already solid black on clean white and applies almost nothing. If you force a strong mode on a good page, it will over-process it — that is what the mode selector is for.
My scan has a text layer from OCR. Is it kept?
No. A scanned page is re-rendered and written back as a single image, and the invisible OCR layer is not carried into the enhanced file, so search will not find text in it. Use OCR a scanned PDF to add a fresh text layer, or keep the original if you need to search it.
Which mode should I use for a photocopy?
Start with Auto Print Enhance. If the background is still grey, move to Clean Scan. If the text is still too light after that, raise Text Darkness rather than switching to Black & White, which discards mid-tones.
Guides on this topic
- How to Improve Scanned PDF QualityMost scan quality is decided at capture time. Resolution, colour mode, lighting and compression settings that make every later step easier.
- How to Make a Scanned Document More ReadableReadability is more than contrast: resolution, sharpening, colour handling, OCR and accessibility all decide whether a scan is genuinely usable.
Related tools
- Clean up a scanned PDFClean scanned PDFs: whiten grey backgrounds, remove speckle and shadows, and even out uneven lighting from scanners and phone cameras.
- Sharpen a PDFSharpen a PDF online: firm up soft scanned text with a gentle, halo-limited sharpen. Three strengths, before/after preview, no signup.
- Remove noise from a scanned PDFRemove specks, dust and scanner noise from a scanned PDF: isolated dark dots on the paper are cleared while text and thin lines stay as they were.
- Whiten a PDF backgroundWhiten the background of a PDF online: turn grey or cream scanned paper white while the ink stays exactly as it was. Three strengths, preview, no signup.
- OCR a scanned PDFMake a scanned PDF searchable: clean each page, read the text in your browser, and download a PDF you can search and copy from. English, French, German, Spanish.
Enhance your scan
Free, no signup, no watermark. Your file stays on your device.
How it works · Features · Privacy
Upload scan to analyze